The Forest of Fallen Giants is an area in Dark Souls 2 bordering Majula. Entering through the tunnel from Majula past the heavy closed gate, the player encounters a wide wood with castle ruins beyond.

The string of Hollow guards are easily dispatched, but don't underestimate them. If you get caught too close to a flurry of knife blows you can find yourself stunned and gutted. Take them on carefully, one at a time. When you reach the bend in the creek, lure them back around the corner to get out of range of the archer on the far bank. You can choose to cross the creek and light the Bonfire. This won't respawn nearby enemies, but if you choose to rest at the bonfire they will respawn, and you'll have to clear them out again before moving on.
Run through the jungle
Near the end of the creek you'll find an archer and a swordsman stationed close by one another. Do not engage them together. Either sweep to the left and kill the archer with ranged fire, or lure the swordsman out of range. Beware the "dead" axeman on the ground near the water's edge. He's quite capable of getting up and hacking you to death.
Up the ridge is a cave with a ladder leading to a glade. The large clearing is patrolled by three undead, with a fourth playing dead near one of the exits. Additionally, there's an archer on the catwalk above you who can hit you almost anywhere in the area. The White Knight won't bother you if you don't bother him. Aside from the White Knight, the safest way to clear this spot is to lure enemies down the ladder and kill them below in the cave. Once you have carved up the three enemies, climb back up the ladder and then though the break in the wall to your right.
Climb the ladder and make your way up the steps ahead. Two enemies will come down the stairs as you near the top. Dispatch them, break right at the top, then drop onto the catwalk. From there, kill the bowman and collect the treasure.
Return to the White Knight. He's holding a Heide Sword; a valuable weapon at this stage of the game. If you decide to attack him, the main thing to keep in mind is choosing when to attack. He can lash out with some very quick, unsuspecting attacks. For melee fighters, if you keep your shield up you can tightly circle the White Knight, blocking his advances. Keep your eye on your stamina and roll away if you have to. Circling him will present you with opportunities to backstab him which, with a few strikes, makes this fight much quiker and easier. Don't be discouraged if you miss the backstab, as you'll at least deal a bit of damage. Carefully chip away at him, and he shouldn't be too hard to dispatch. The Knight's techniques will quickly become familiar.
The other exit from this area leads to an underground tunnel. Don't forget the "dead" enemy near the entrance to the tunnel. He delights in rising up and attacking you from behind after you enter. Pass by the left turn and go straight. You will drop into a room containing two Hollows ready to ambush you: one in front of you, and one behind. Be carefull to avoid their first attacks. After exterminating the two Hollows in the room, break the bookshelf for treasure. Leave the room and turn left, taking down the Hollow waiting across the hall. Turn around and continue along the path, butchering the Hollow weilding the two-handed sword. When you reach the foot of the stairs, duck into the alcove to the right halfway up the steps to avoid the archer. Above you to the left is a Hollow throwing firebombs. A ranged shot will knock him off his perch, or wait for the archer to loose a shot, then quickly dash up and jump past him. This will put you out of the range of the firebomber where you can easily put an end to both the archer and the other enemy before killing the firebomber.
Bonfire ahead
On the plaza atop the stairs, head toward the rubble to grab another item off a corpse, then backtrack to the ladder. Climb the ladder. Walk past the door and go around the corner to your right. Slay the hollow sitting here and loot its corpse. Return to the door, and light the Bonfire that resides behind it.

You'll find Melentia in this chamber. The old woman has myriad and sundry wares for sale, including spare Human Effigies and some spells. She also sells the key to the Blacksmiths shop back in Majula.
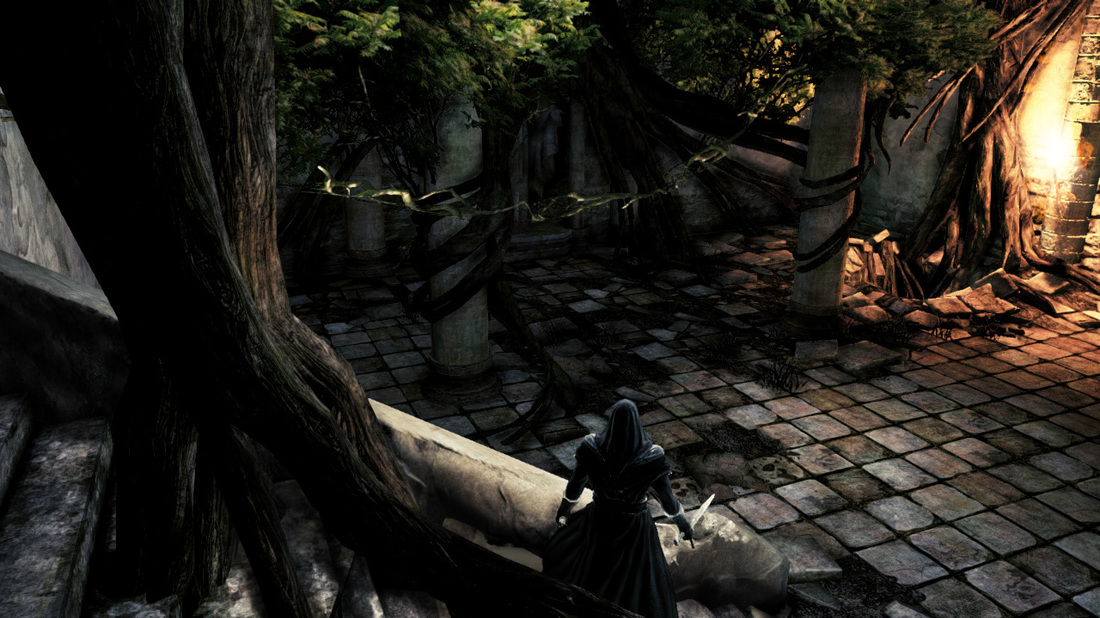
The courtyard outside is accessible by dropping onto the catwalk, then gradually dropping down levels and finally navigating the large fallen tree on the far end. Be warned: you should wait until you've gained a valuable item (which comes a little later) before going this way.

|
Descend the ladder next to the bonfire instead. A soldier will immediately charge you. Kill him, and also watch for the nearby body who will rise up and attack you. Locked doors will force you to a single path leading out onto a balcony. A dead body in the hall will do his best to surprise you from behind, and the commotion of fighting him may raise some other corpses as well.
|
Step outside, and climb a little up the trunk, then double back and leap to the nearby plank. Advance along the scaffold until two hollow knights meet you along this stretch. Alternatively, wait at the bottom of the tree trunk for these two enemies to come to you, this way you will be out of range of the few archers. Contunue on, climbing and killing off archers. You'll find several items scattered around including a Tianite Shard on the ground level. Your objective is to reach the hole in the wall on the far end of the plaza. To do this reach the peaked roof in the center of the area, from here you can jump onto another platform (with another Hollow on it) and then onto the hole in the wall. When you reach it, step carefully and be ready to leap back, as a giant boulder will come racing down.

|
The path to the left will take you to a man practically crawling in the dark. Speak to him and after professing his love for maps, he will give you a key to the locked house in Majula. Avoid the path to your right; a hole leading to your death resides at the end. Double back, the way you came in through the hole. Climb the ladder and circle back around, clearing the rest of the courtyard.
|
Back to MajulaAt this point, you'll do well to return to Majula from the fire and search the house. Beware the enemies in the cellar. You'll find a Respec item in a chest there, as well as a Pharos Stone in the library and other goodies upstairs.
|

|
Back to The Forest
|
Return to the Bonfire located in front of Melentia through the bonfire in Majula. (One of the features of Dark Souls II is that you can fast travel from the beginning of the game) This is the best way to get there safe. You can also make a trip and go all over the forest again to gain some souls.
|
Head down the ladder and once again navigate outside and climb the large tree trunk to the top of the wall. Fight off the halberdmen and continue along the top. Do not climb the small ladder to your right unless you're willing to take on a boss early, as The Pursuer is likely waiting at the top.
Watch out for the soldier waiting on the corner of the plaza above you, as he tosses firebombs. Snipe him from a distance if you can.
Blowing up the black barrels near the wall will reveal a shortcut back to the Bonfire before the ladder. Turning the corner, you'll find a stair heading down. Wait for the swordsman below to attack, defeat him at the top, then kill the spearman waiting to the right at the bottom of the stair.
Take the long ladder down, and collect the treasure from the corpse at the alcove at the bottom of the stairs. Do not go through the iron gate ahead. Instead, peek into the chamber to the right and immediately duck back and dodge to the side. Ballista bolts will fire at you, and several knights will charge out. Fight them or climb the ladder to exterminate them with ranged attacks. Return and clear the ballista chamber, mindful of the hole in the floor at the back corner of the room. Among the corpses you'll find a Greater Soul Arrow.
Below you'll find a chest and a slot for a Pharros Lockstone. The chest is trapped. Open it and then immediately roll back to avoid the poison cloud. Retrieve a Tianite Shard. The Pharros Stone will reveal a weakened area of wall. Attack it to gain access to several useful items, including theChloranthy Ring. If you haven't yet been back to Majula and retreived the Pharros Stone, one can be bought from Melentia, the merchant near the previous bonfire.
Return upstairs and ignore the narrow gates. Instead, enter the courtyard and aggro the large armored enemy toward you. Be wary of archer fire and firebombers from the battlements to your upper left. You can lure the enemy to the room behind you, in front of a ballista and fire to instantly kill him. You can also lure him back to the ladder, climb up and then plunge attack or take him down with ranged shots. Otherwise, take him the old school way; he's not too hard to beat. Head back into the courtyard and make a right, watching for arrows. You'll find a couple of enemies here, as well as a ladder. Head up and right to clear the battlements of archers. Leap across the expanse to grab the treasure on the dead body. Kill the swordsman below and open the chest there, the drop back into the yard. Backtrack to the ladder, climb up, and break through the wagon to take the guard from behind. Head through the corridor and down the stairs, clearing out the enemies. Circle around back to the gate. If it is open, head through If not, backtrack and drop down to where the man is waiting. Talk with him several times. Head through the courtyard again to the room facing the ocean, and defeat the two halberdmen to the left. Head to the end of the room and dispatch the soldier playing dead on the ground.

|
Make your way up the long stone sword toward the waiting knight, but be cautious. Turn around and look up, and snipe the swordsman waiting in ambush. Head up the sword and collect the treasure. Next, travel back down and through the mist. Avoid engaging the little blue bug in the room to your right. Ignore the insect and collect the treasure. Open the iron door. By now you'll need a recharge, so head up the ladder and rest at the fire. When ready, stock up on Life Gems.
|
Head down and back through the iron door, then take the lift down. Kill the guard in the hall and step through the mist to face The Last Giant.
The Last Giant
When in human form you can choose to summon Mild Mannerd Pate to assist you in this fight. The summon sign is on the ground out-side the entrance to the fight. Pate carries a great shield and pike and will stay close to the Giants legs, hacking away. This is ideal for ranged attackers as the Giant will continue to try and stomp on Pate. For melee attacks however the effect is opposite. Because the Giant constantly reacts to Pate chopping at his legs, it makes it harder to get a blow in without being squashed.
The Last Giant has several signature attacks. He does a long forward sweep, which a character can dodge. While dodging away is sometimes effective, it is often better to dodge forward, under the giant's feet, then pass through and attack him from behind.
The Giant can also stomp players beneath him, so watch out for when he lifts his foot and get as far away as possible. He also leans down sometimes and swats the ground in front of him. During this fight, the safest places to be are either behind him and against his legs, ready to roll away from his stomp attack or well away, out of the range of his sweeping blow. Alternate between one and the other, avoid the middle distance.
A player can stay behind the Giant and constantly attack his leg. Just beware when he stomps the ground; roll back and be patient while waiting for your chance to strike.
When you get him down to 50% health, he'll remove one arm and use it as a club. Run beneath him and stay close behind him, as the club extends the range of his sweeping and hammer blows making it very hard to be out of his range.
Occasionally the Giant may lose his balance and fall down. Get out of the way or you will die instantly from his crushing weight.
For a melee fighter, a good tactic is to dodge his sweeping attack and quickly dash forward, rolling between his legs and then chipping away at them untill he begins his stomp attack, at which point you need to roll/retreat again and wait for his swipe.
¿You've made it?
Once the Giant is defeated, backtrack upstairs and recharge at the fire. The 'Soliders Key' that you aquired from the Last Fallen Giant unlocks serveral of the brown locked doors that you have encounterd up to this point. It opens four in total. One is immediately above the Bonfire. Climb the stone stairs in the room with the bonfire and unlock this door first for a few items. The second is down the ladder next to the bonfire, past the sleeping Hollow Knight, left through the archway and to the right. This area contains multiple Armored Hulking Beetle guys as well as the third bonfire for the Forest of Fallen Giants. In this area, there are a few items and you can also obtain a seed of a Tree of Giants (*to be confirmed)*. The third is across the bridge from the sleeping Hollow Knight. The fourth door is the path to The Pursuer. Head past the lift you took to meet the Last Fallen Giant, and turn right after passing through the stone archway to find this door.
Another door is located in the large open courtyard outside the fire room, accessible by dropping down the scaffolding and navigating along the planks and fallen tree nearby.
When you reach the flaming tunnel, step into the gulch and then retreat immediately. Two swordsmen will try to drop behind you and trap you if you don't. Kill them and clear out the courtyard. The tunnel leads to a salamander, but avoid it at all costs. Instead, dart left after his fireballs and enter a hidden chamber to grab a Flame Sword. From here, return to Majula and pass through Heides Tower of Flame.
When you reach the flaming tunnel, step into the gulch and then retreat immediately. Two swordsmen will try to drop behind you and trap you if you don't. Kill them and clear out the courtyard. The tunnel leads to a salamander, but avoid it at all costs. Instead, dart left after his fireballs and enter a hidden chamber to grab a Flame Sword. From here, return to Majula and pass through Heides Tower of Flame.

If you are feeling especially bold, head upstairs from the open portico facing the sea and challenge The Pursuer.
Optional Boss: The Pursuer
The Pursuer is a very fast giant knight that hovers above the ground. He closes in on the player very quickly, and delivers quick attacks despite his bulk. The Pursuer's stabbing attack is especially potent, cursing the player. The boss also occasionally launches long-range, seeking bolts of energy. TAKE CARE as he will kill you whit 1-2 blows of his sword.
The best way to deal whit it is to use the ballistas at the sides of the battleground. If lined up with a Ballista, the Pursuer's health can be dramatically reduced around a 95-99% whit a single bolt.
Good luck, undead one.
The best way to deal whit it is to use the ballistas at the sides of the battleground. If lined up with a Ballista, the Pursuer's health can be dramatically reduced around a 95-99% whit a single bolt.
Good luck, undead one.
Previous:
|
Next:
|
